
Table of content
Social media bots allow you to automate responses and reactions to posts or messages sent to the bot.
In this tutorial, we’ll extend a boilerplate Express application on Code Capsules to create a Telegram bot in Node.js that tracks and responds to current Ethereum prices.
Navigate to the Express.js deployment guide and follow the instructions outlined there to deploy the boilerplate application. You will need to clone the forked repository to your local development environment to extend the functionality of the boilerplate application and make a Telegram bot.
We need to install the
node_modules
for the boilerplate application before we can run it locally. Navigate to the project’s root folder in a terminal or command prompt window and run
npm install
there.
Now you can run
npm start
in the project’s root folder to see how the application looks.
You’ll need a Telegram user account before you can create a Telegram bot. Head over to Telegram and create an account if you don’t already have one.
When you’ve signed in to Telegram, search for “BotFather” (a bot for managing all other Telegram bots) and start a new chat with it. Follow the steps below to register a new bot with the BotFather:
/start
and press send./newbot
and press send.bot
.The BotFather will respond with a message containing an access token for your newly created bot. This access token will allow our application to access the Telegram API and tell our bot what to do when receiving different messages from users.
To confirm that your bot was created successfully, search for the bot’s username. You should be able to see it and start a conversation with it, although it won’t respond, as we haven’t written the bot’s logic yet.
Your bot’s access token is sensitive data and shouldn’t be written in the code because anyone with access to your token can control your bot, so it’s important to store it where it’s safe and secure. The solution is to use environment variables to reference sensitive information in code.
Create a
.env
file in the project’s root folder and add the line below to it, replacing
<YOUR_BOT_TOKEN>
with the actual access token you were issued with by the BotFather:
BOT_TOKEN=<YOUR_BOT_TOKEN>
Add
.env
to the
.gitignore
file on a new line so that the
.env
file won’t be uploaded to your remote repository when you push your changes.
Next, install the package for loading environment variables by running the command below from a terminal window in the project’s root folder:
npm install dotenv
Also install the
axios
and
telegraf
packages by running the commands listed below from a terminal window in the project’s root folder:
npm install axios
npm install telegraf
Open
index.js
in the root folder and modify its contents with the code below:
=const express = require('express')
const expressApp = express()
const axios = require("axios");
const path = require("path")
const port = process.env.PORT || 3000;
expressApp.use(express.static('static'))
expressApp.use(express.json());
require('dotenv').config();
const { Telegraf } = require('telegraf');
const bot = new Telegraf(process.env.BOT_TOKEN);
expressApp.get("/", (req, res) => {
res.sendFile(path.join(__dirname + '/index.html'));
});
bot.launch()
The code snippet above instantiates
express
,
axios
and
telegraf
objects, which we’ll need to create the telegram bot. Notice how we use environment variables to reference our bot’s access token in this line:
const bot = new Telegraf(process.env.BOT_TOKEN);
.
Using the
bot.launch()
command isn’t efficient from a bandwidth perspective, as our bot continuously polls the Telegram API to check if it has received any new messages. Later in the tutorial, we will look at how to use webhooks to be more conservative with the bandwidth our bot uses.
Now it’s time to add the logic for the commands which tell our bot how to respond to different messages. Add the code below to
index.js
just above the
bot.launch()
line:
bot.command('start', ctx => {
console.log(ctx.from)
bot.telegram.sendMessage(ctx.chat.id, 'Hello there! Welcome to the Code Capsules telegram bot.\nI respond to /ethereum. Please try it', {
})
})
bot.command('ethereum', ctx => {
var rate;
console.log(ctx.from)
axios.get(`https://api.coingecko.com/api/v3/simple/price?ids=ethereum&vs_currencies=usd`)
.then(response => {
console.log(response.data)
rate = response.data.ethereum
const message = `Hello, today the ethereum price is ${rate.usd}USD`
bot.telegram.sendMessage(ctx.chat.id, message, {
})
})
})
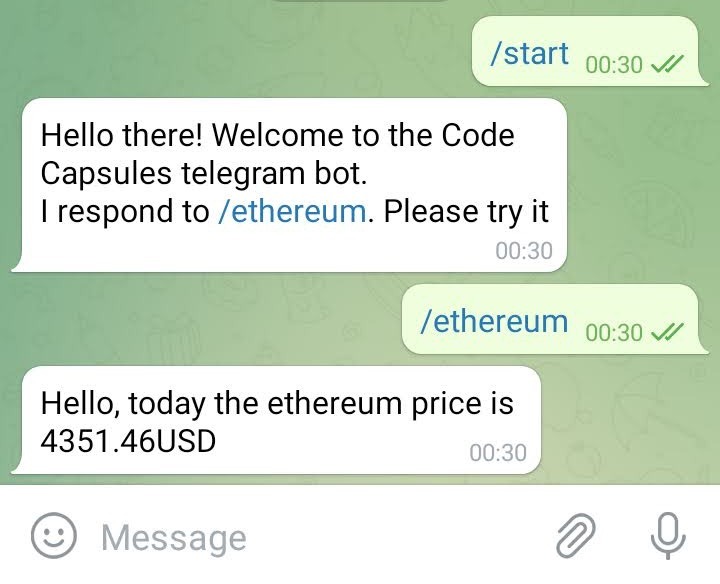
The first command is a startup message, which is triggered when a user sends a
/start
message to the bot. The startup message contains a greeting that tells the user which other commands the bot can respond to, in this case, the
/ethereum
command.
When a user sends an
/ethereum
message, the bot first checks for the latest price of Ethereum at CoinGecko then sends it to the user.
Now that our bot can respond to users if they send it
/start
or
/ethereum
messages, run
npm start
in a terminal window while in the project’s root folder to test this functionality.
Send your bot
/start
and
/ethereum
messages in Telegram, and it should respond with the correct messages.
Earlier on, we mentioned that the
bot.launch()
command uses polling, which isn’t the best practice when deploying any application to production. Using webhooks is a viable alternative to polling, as it ensures our bot receives commands as they are sent by Telegram users, as opposed to constantly polling or asking the Telegram API for them.
Add the code below to the
index.js
file to add a webhook to our bot and comment out the
bot.launch()
line:
expressApp.use(bot.webhookCallback('/secret-path'))
bot.telegram.setWebhook('<YOUR_CAPSULE_URL>/secret-path')
.
.
.
// bot.launch()
expressApp.listen(port, () => console.log(`Listening on ${port}`));
Navigate to the capsule you deployed at the start of this tutorial and copy its domain from the “Overview” tab. In the code snippet above replace
<YOUR_CAPSULE_URL>
with the domain you just copied.
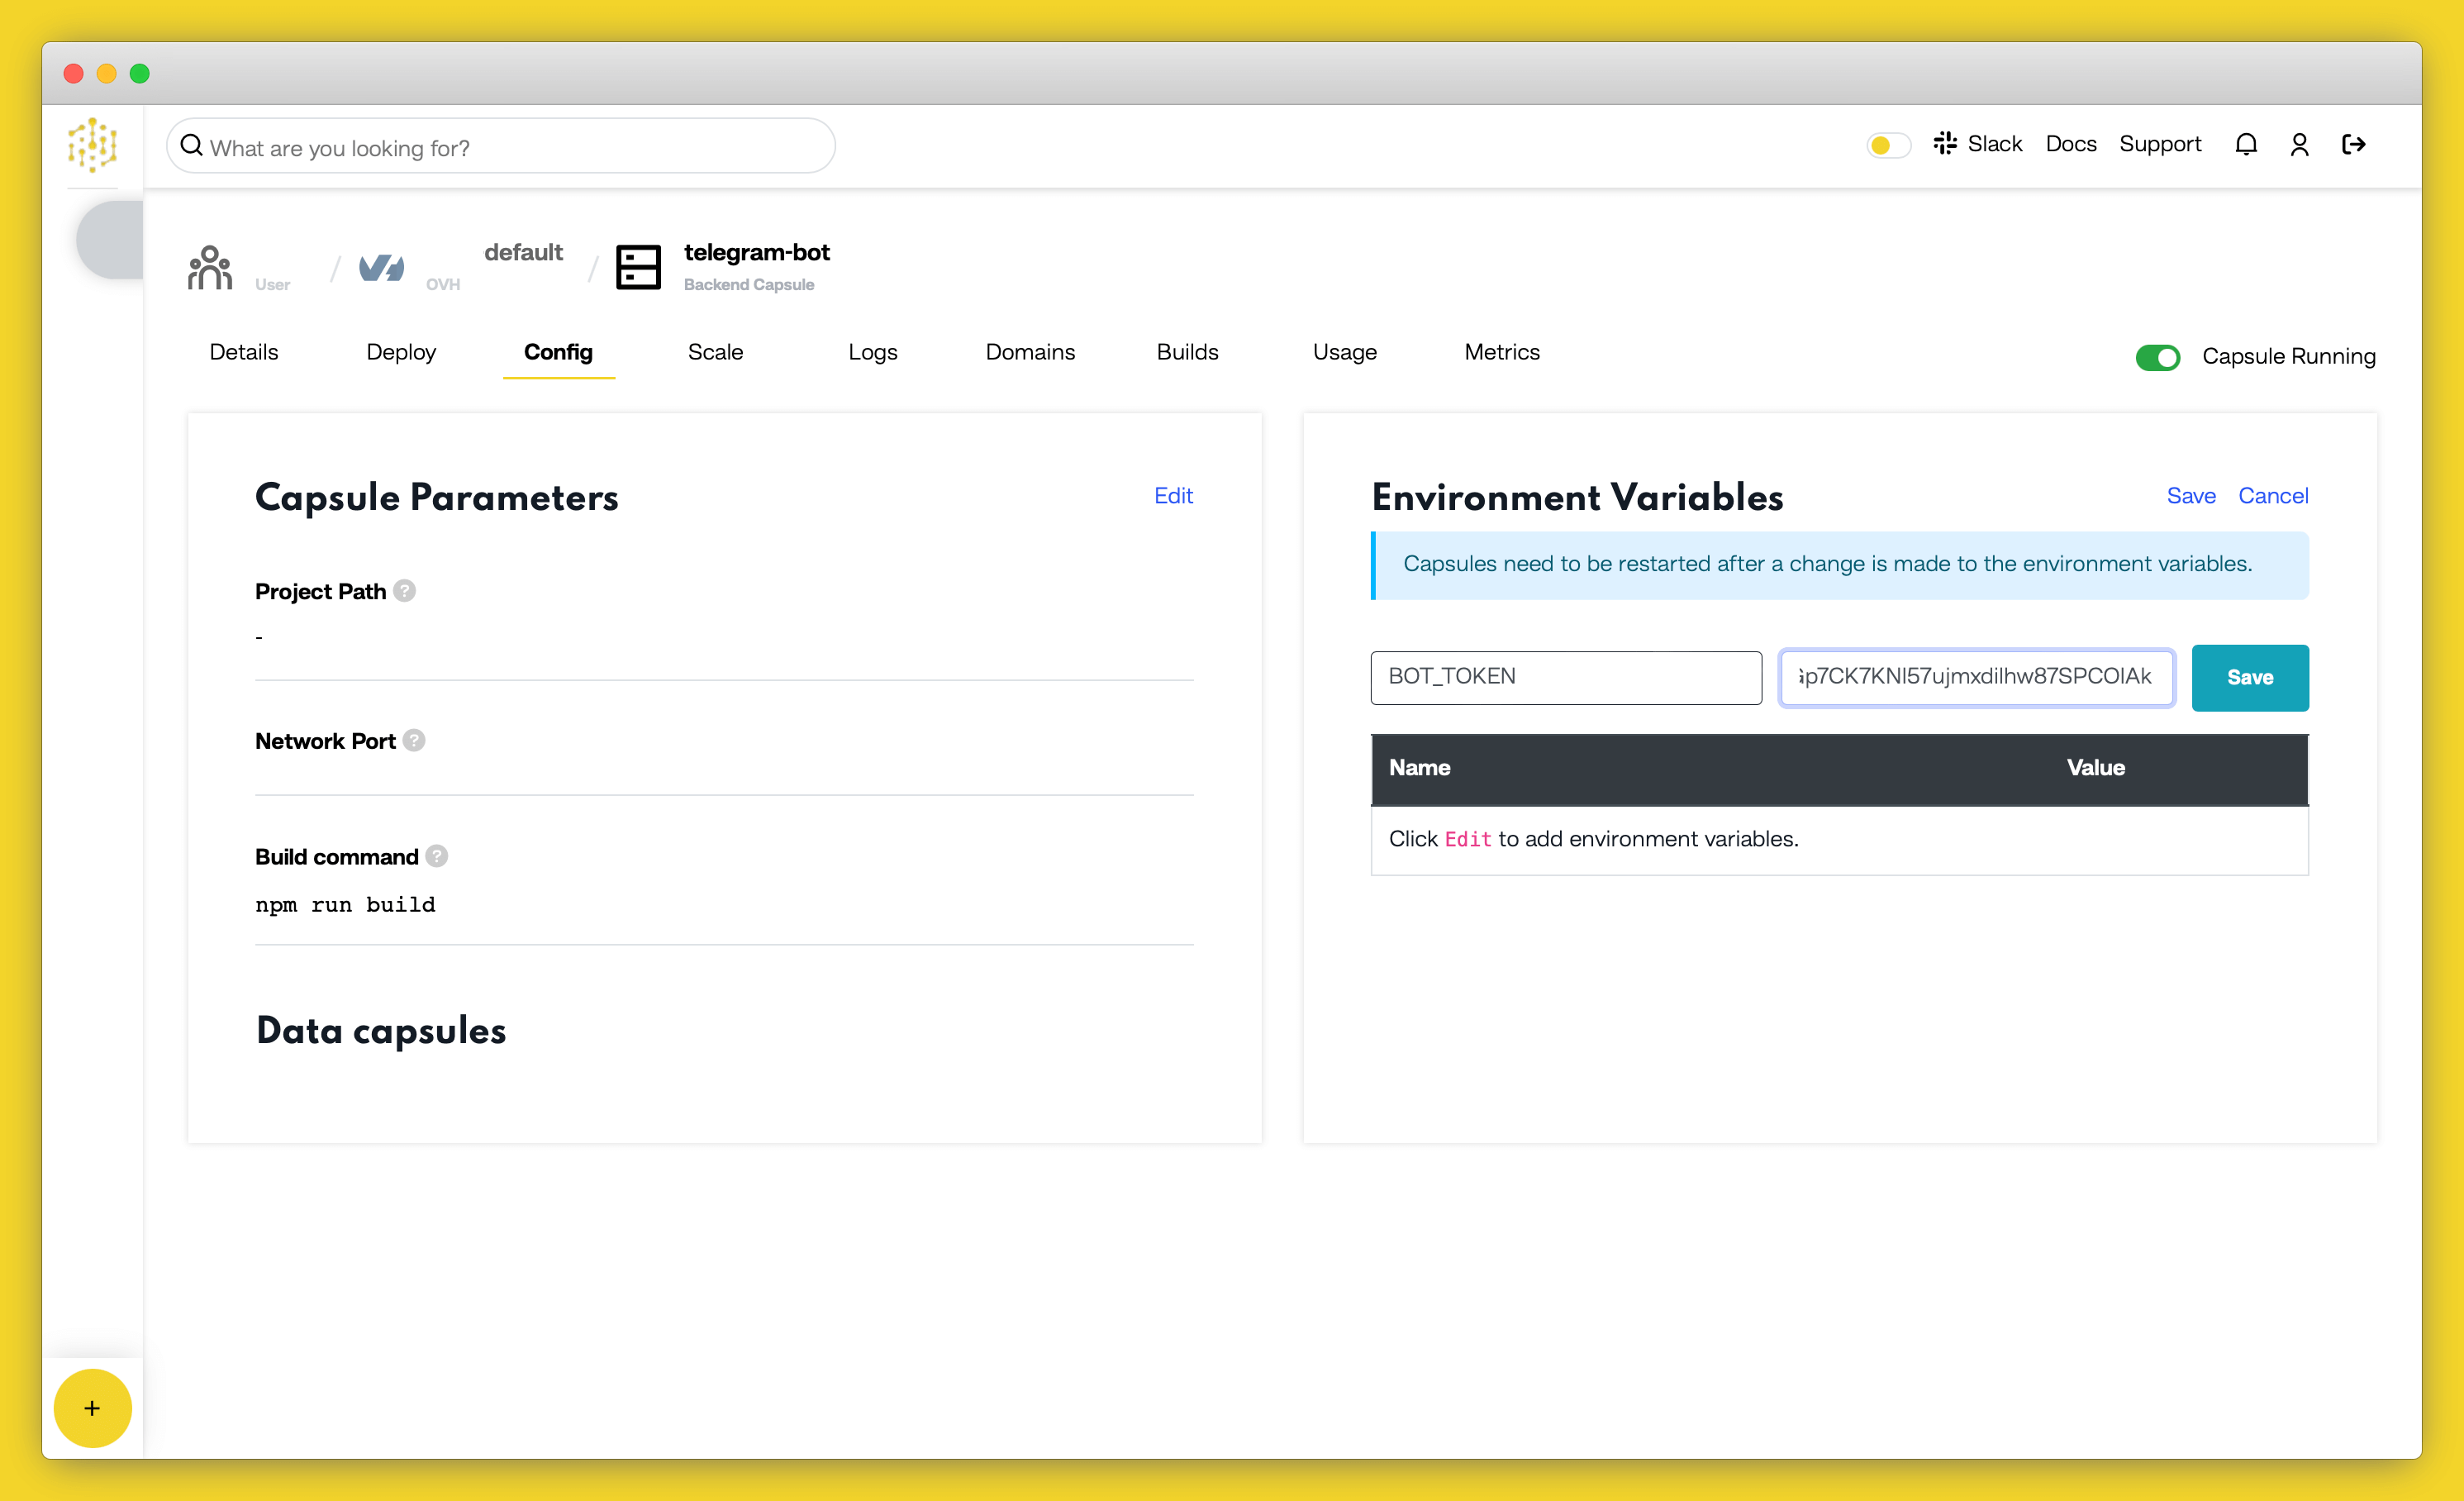
On Code Capsules, navigate to the “Configure” tab of your capsule and add a
BOT_TOKEN
environment variable, giving it the value of your bot’s access token.
Now head over to your local development environment and commit your changes if you haven’t already. Run
git push
in a terminal window while in the project’s root folder to deploy your bot to production!
Table of content