GSD
How to Write Awesome End to End Tests for Your Next.js CMS
Posted by Nirmalya Ghosh on September 25, 2023
Writing end to end tests for your Next.js CMS (or any other Next.js app) is always a good idea. It helps you remove critical bugs from your product, and it gives you the confidence to ship new features faster. End to end tests ensure that you test your app the same way a real user would use it. When they're executed correctly, end to end tests let you know if both your backend and frontend are working as expected.
In this tutorial, we'll guide you through the process of setting up some common testing tools, and we'll step through the process of writing end to end tests for a marketing website built with ButterCMS and Next.js.
Table of contents
Introduction
We’ll be using Cypress to write end to end tests, and we will test the website from this marketing website tutorial which was built with our Next.js CMS. An online demo is hosted at ZEIT Now and the code for this tutorial is available on Github. If you’re looking for the code of the hosted demo, you can also find it on GitHub.
What is Next.js?
Next.js is one of the most popular React frameworks that are available now. Using Next.js, you can write Server Side Rendered applications with zero setup.
Cypress Testing
Cypress is a developer-friendly JavaScript End to End testing framework. It doesn’t use Selenium. It’s built on a new architecture from the ground up. Whereas Selenium executes remote commands through the network, Cypress runs in the same run-loop as your application.

Getting Started
We need to setup Cypress with our application before we start writing any of tests. First, you need to clone the repository which contains code for the site that will be tested.
/**
* Clone the repository
*/
git clone https://github.com/ghoshnirmalya/testing-next.js-apps

/**
* Go inside the project directory
*/
cd testing-next.js-apps
You will need to create a .env file and add your ButterCMS API key there:
BUTTER_CMS_API_KEY=somethingThe setup for running the demo app is complete.
Deploying
- Create a ZEIT account at https://zeit.co/signup and download the CLI
- Add the API key as a secret
now secrets add butter-cms-api-key "YOUR_API_KEY" - Run
nowat the project root
Now, let’s install Cypress.
Installing Cypress
Installing Cypress is pretty straight-forward. If you machine is compatible with the Cypress system requirements, you can install Cypress using:
/**
* Go inside your project directory
*/
cd your/project/path

/**
* Using npm
*/
npm install cypress --save-dev
If you prefer yarn, you can install Cypress using:
/**
* Go inside your project directory
*/
cd your/project/path

/**
* Using yarn
*/
yarn add cypress --dev
Running Cypress
You can run Cypress using the following command:
./node_modules/.bin/cypress open
You can also add a script in your package.json file to run Cypress:
"scripts": {
 ....
 "cypress:open": "cypress open"
}
Now, you can run using:
/**
* Using npm
*/
npm run cypress:open
If you prefer yarn, you can run Cypress using:
/**
* Using yarn
*/
yarn cypress:open
Once you run the script, Cypress will generate a bunch of files for your app:
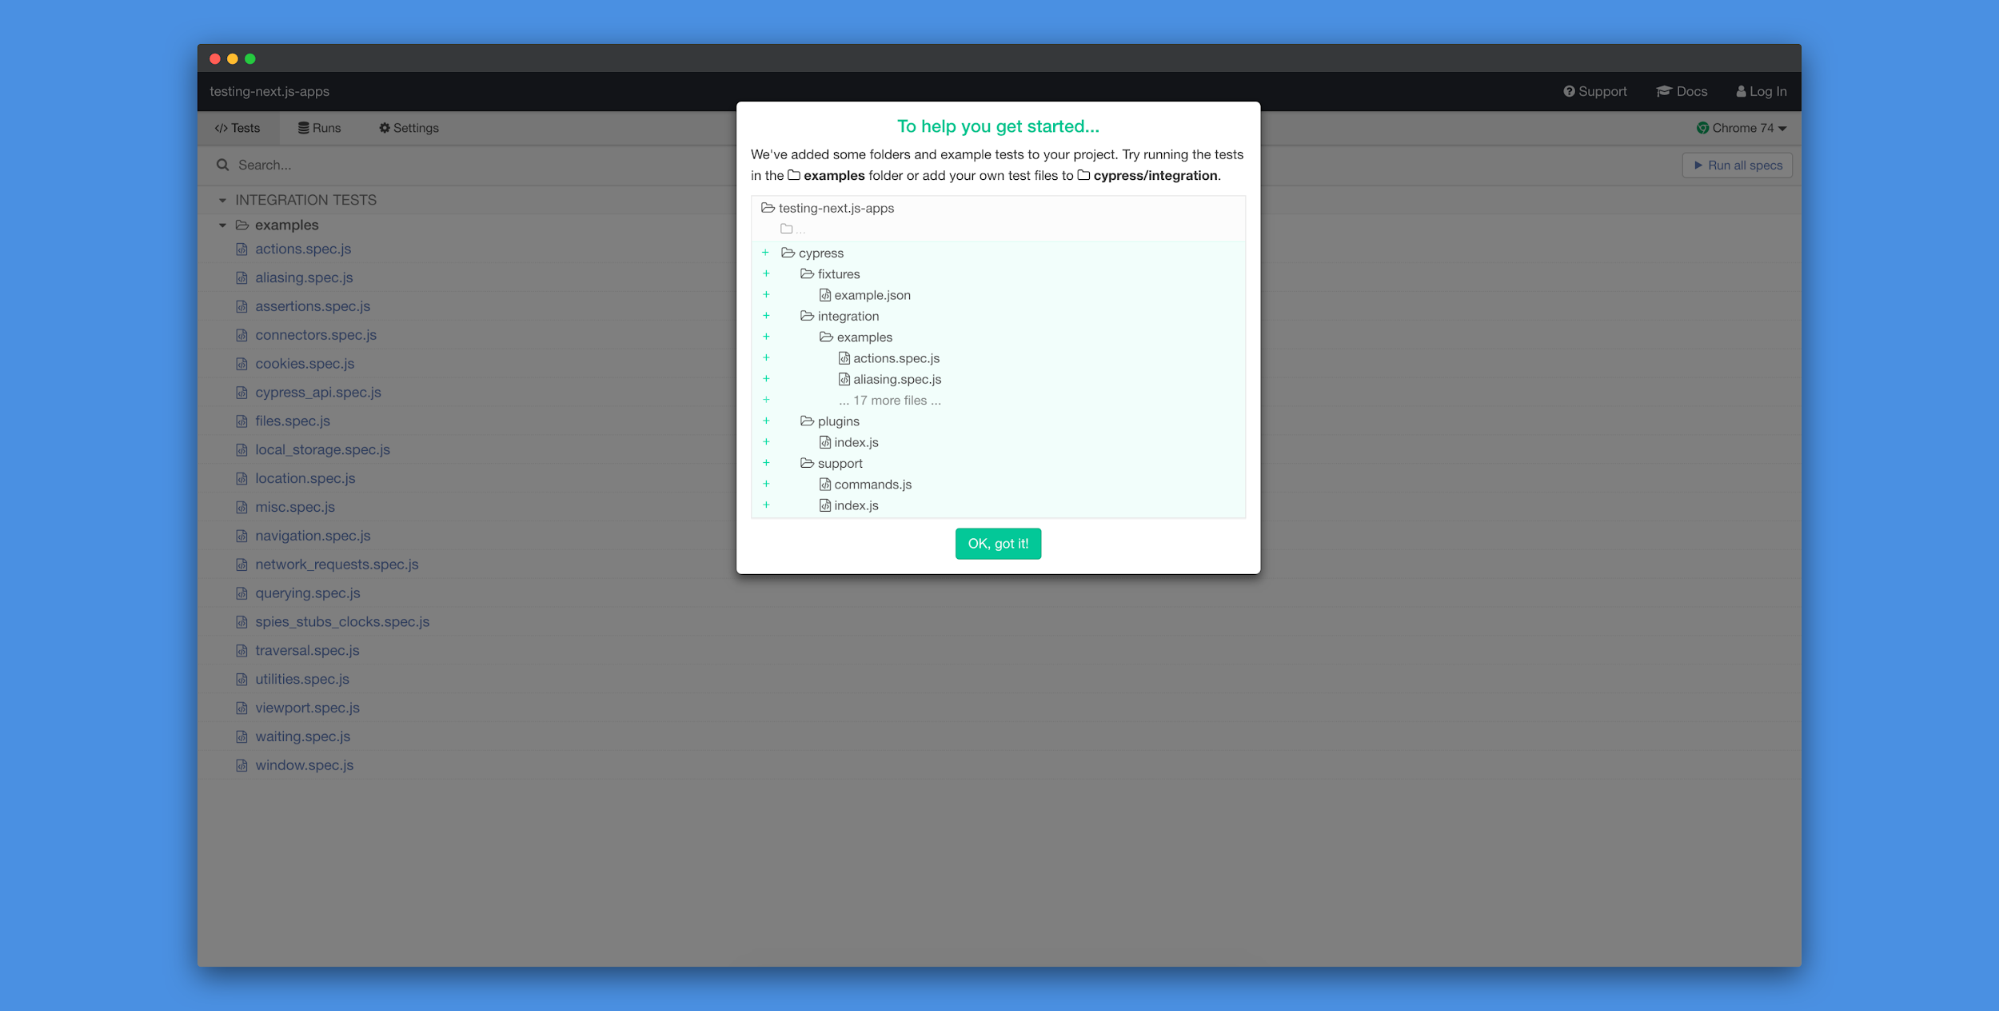
As soon as this information shows up, the Cypress Test Runner will launch.
You will also see that Cypress will start running a new instance of Chrome for testing. For now, you can stop running the tests by clicking Ctrl+C in your terminal.
Adding basic configurations
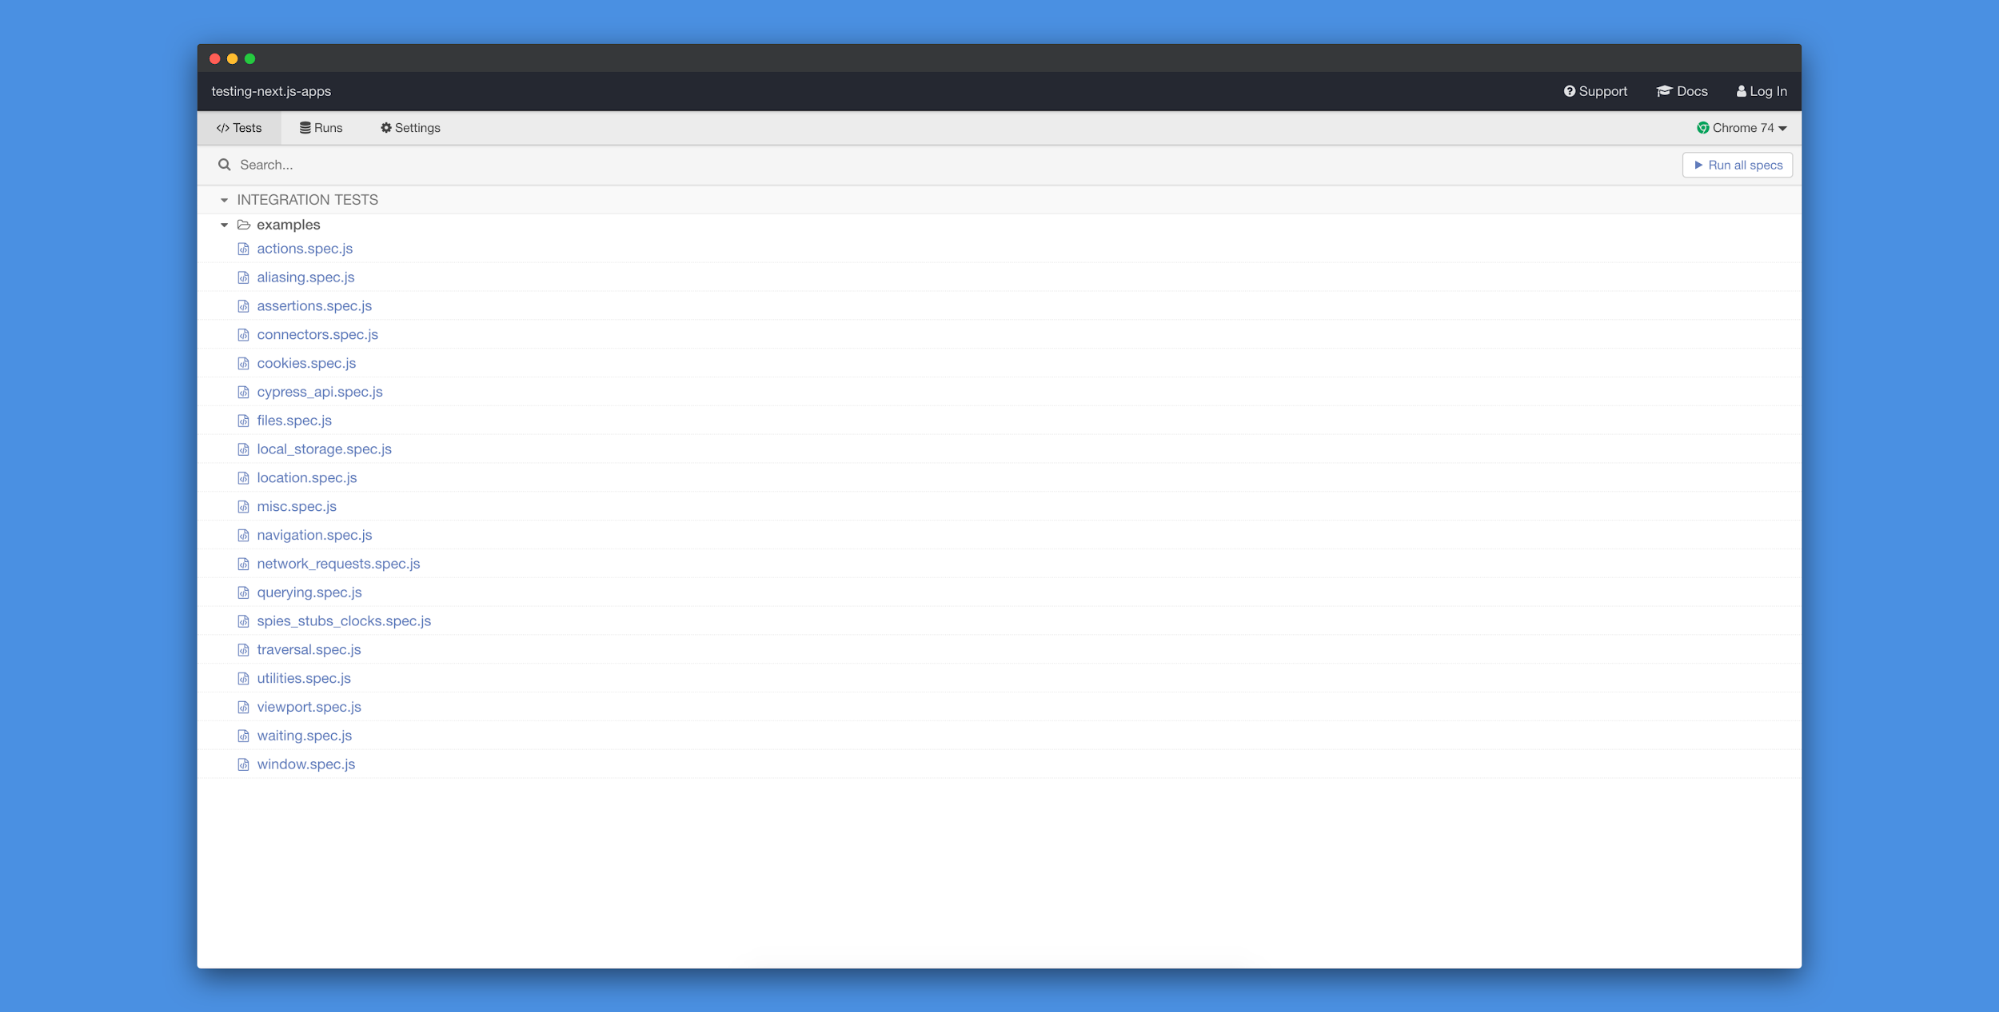
Before we start writing any tests, we need to remove some default files which Cypress generated for us. Also, we’ll configure the default Cypress setup a little bit so that it helps us in writing tests.
First, you can remove the examples directory present in cypress/integration/examples. We won’t be needing any specific plugins for this tutorial. However, Cypress has an amazing set of plugins. One last thing that you need to configure is add the following to your cypress.json file:
{
 "baseUrl": "http://localhost:3000"
}
This baseUrl is used as prefix for cy.visit() or cy.request() command’s url. You can check our Cypress documentation for more details on the options that it provides.
Also, let’s create a index-page.js file inside cypress/integration directory. This file will consist of all the tests for our Home page. For now, we need to add the following inside this file:
describe("Index page", () => {
 /*
 * Visits the page before each test
 */
 beforeEach(() => {
   cy.log(`Visiting http://localhost:3000`);
   cy.visit("/");
 });
});
This means that before running each test Cypress will visit the page which is configured in the cypress.json file’s baseUrl configuration. For the end to end tests in this tutorial, it will be http://localhost:3000/ since our app is running on that port. We want to visit this page before each test so that we can ensure that one test is not affecting any other tests.
That’s all the configuration we need to start writing our end to end tests.
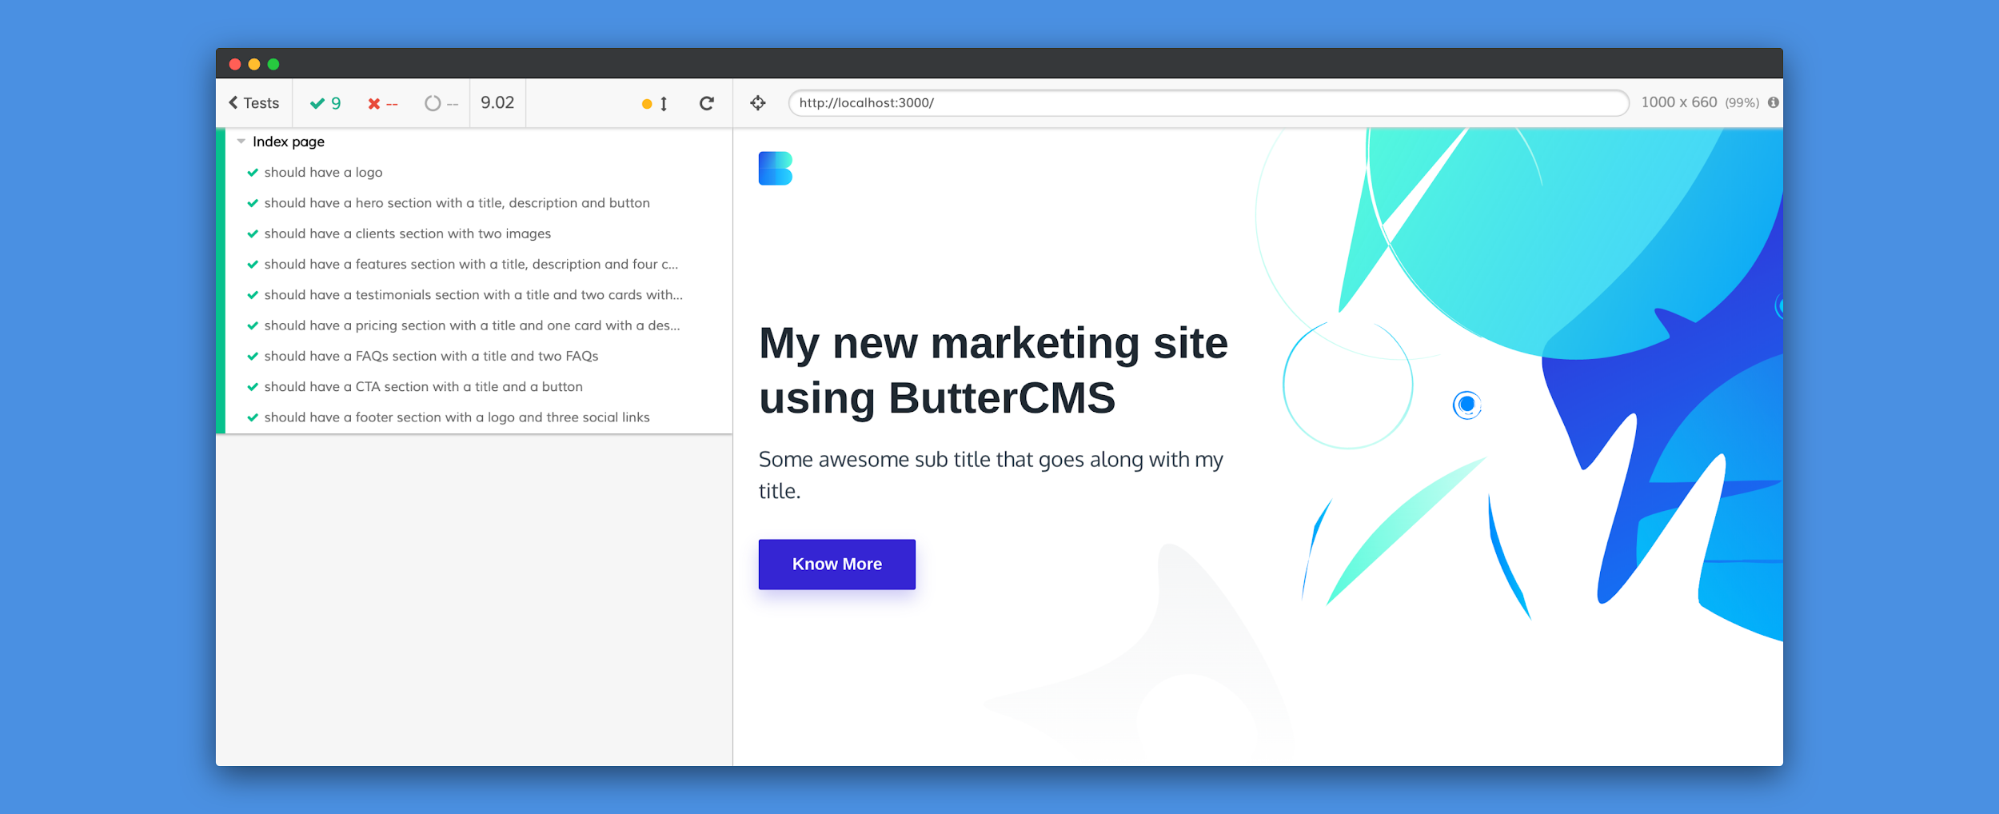
Writing end to end tests, starting with the home page from our Next.js CMS
For the Header section, we would only test if this section contains a logo. The test will look something like:
/**
* Header section
*/
it("should have a logo", () => {
 cy.get(".brand.header-brand img").should("have.length", 1);
});
For the Hero section, we would only test if this section contains a title, description and a button. The test will look something like:
/**
* Hero section
*/
it("should have a hero section with a title, description and a button", () => {
 cy.get(".hero .hero-title").should("have.length", 1);
 cy.get(".hero .hero-paragraph").should("have.length", 1);
 cy.get(".hero .hero-cta > .button").should("have.length", 1);
});
For the Clients section, we would only test if this section contains two images. The test will look something like:
/**
* Clients section
*/
it("should have a clients section with two images", () => {
 cy.get(".clients img").should("have.length", 2);
});
For the Features section, we would only test if this section contains a title, description and four cards with an image, title and description. The test will look something like:
/**
* Features section
*/
it("should have a features section with a title, description and four cards with an image, title and description", () => {
 cy.get(".features .section-title").should("have.length", 1);
 cy.get(".features .section-paragraph").should("have.length", 1);
 cy.get(".features .feature").should("have.length", 4);
 cy.get(".features .feature .feature-icon").should("have.length", 4);
 cy.get(".features .feature .feature-title").should("have.length", 4);
 cy.get(".features .feature .text-sm").should("have.length", 4);
});
For the Testimonials section, we would only test if this section contains a title and two cards with a description and author name. The test will look something like:
/**
* Testimonials section
*/
it("should have a testimonials section with a title and two cards with a description and author name", () => {
 cy.get(".testimonials .section-title").should("have.length", 1);
 cy.get(".testimonials .testimonial").should("have.length", 2);
 cy.get(".testimonials .testimonial .testimonial-body").should(
   "have.length",
   2
 );
 cy.get(".testimonials .testimonial .testimonial-name").should(
   "have.length",
   2
 );
});
For the Pricing section, we would only test if this section contains a title and one card with a description, price and a CTA. The test will look something like:
/**
* Pricing section
*/
it("should have a pricing section with a title and one card with a description, price and a CTA", () => {
 cy.get(".pricing .section-title").should("have.length", 1);
 cy.get(".pricing .pricing-table").should("have.length", 1);
 cy.get(".pricing .pricing-table .pricing-table-title").should(
   "have.length",
   1
 );
 cy.get(".pricing .pricing-table .pricing-table-price").should(
   "have.length",
   1
 );
 cy.get(".pricing .pricing-table .pricing-table-cta").should(
   "have.length",
   1
 );
});For the FAQs section, we would only test if this section contains a title and two FAQs. The test will look something like:
/**
* FAQs section
*/
it("should have a FAQs section with a title and two FAQs", () => {
 cy.get(".pricing .pricing-faqs h4").should("have.length", 1);
 cy.get(".pricing .pricing-faqs .accordion li").should("have.length", 2);
});
For the CTA section, we would only test if this section contains a title and a button. The test will look something like:
/**
* CTA section
*/
it("should have a CTA section with a title and a button", () => {
 cy.get(".cta .section-title").should("have.length", 1);
 cy.get(".cta .cta-cta").should("have.length", 1);
});
For the Footer section, we would only test if this section contains a logo and three social links. The test will look something like:
/**
* Footer section
*/
it("should have a footer section with a logo and three social links", () => {
 cy.get(".site-footer .brand img").should("have.length", 1);
 cy.get(".site-footer .footer-social-links li").should("have.length", 3);
});
Conclusion
At this point, you should understand how to write end to end tests for a Next. js blog or website built with a Next.js CMS. You can use Cypress the same way to test any other framework as well.
I hope this tutorial helps you in your future projects. Please feel free to share your feedback in the comments section below.
ButterCMS is the #1 rated Headless CMS


Related articles
Don’t miss a single post
Get our latest articles, stay updated!
Nirmalya Ghosh is a Frontend Developer and Designer based in India. He likes good design and is currently working mostly with React. You can find more details about him at nirmalyaghosh.com.