

In this article, you'll learn how to inject custom packages on AWS Lambda Functions' Runtime by using AWS Lambda Layers. You'll also use Amplify to develop, deploy, and distribute your applications.
Serverless applications are great for those who don't want to pay for idle machines or even manage cloud infrastructures. This post will focus on a gentle introduction to the Amplify Framework using Node.js. You'll install a custom Node.js package once and inject it on all your functions using AWS Lambda Layers.
By the end of this post you will have learned how to deploy serverless functions on AWS by:
- Creating a Node.js Web API using Express.js as a serverless function using the Amplify Framework
- Injecting a custom package on AWS Lambda functions' runtime using AWS Lambda Layers to monitor and extend HTTP requests.
Requirements
In the next steps, you'll create a real application and publish it on the AWS Infrastructure. Before starting to code make sure you have the following requirements set up on your environment:
- An AWS Active Account
- AWS CLI
- Node.js v14
Introduction
One of my favorites cloud platforms that provides serverless infrastructure is Amazon Web Services. They have long been developing and shipping platforms that empower companies to release software faster than if they had to configure and handle repetitive configurations.
If you're familiar with Serverless applications, you might have heard about the Serverless Framework. It's a multi-cloud framework for managing serverless architectures by using configuration files, deploying and running apps using a single command.
Even so, developers still need install plugins and manage configuration files by themselves and it could take a while to build a complex workflow.
So, what kind of CLI do you like most? A CLI that would ask you about what you want such as external connections (Database, Storage, Queue, etc), authentication flow, external permissions, and so on? Yeah my friend, welcome to AWS Amplify.
AWS Amplify
AWS Amplify is an ecosystem that helps back end, front end, and integration developers. If you take a look at its official docs, you'll see the huge list of possible libraries and examples to work on both back end and front and applications.
When you have your AWS CLI configured and your environment set, run the following command to install AWS Amplify globally on your machine:
npm install -g amplify-cli
Next, let's initialize a work directory by creating a folder:
mkdir app && cd app
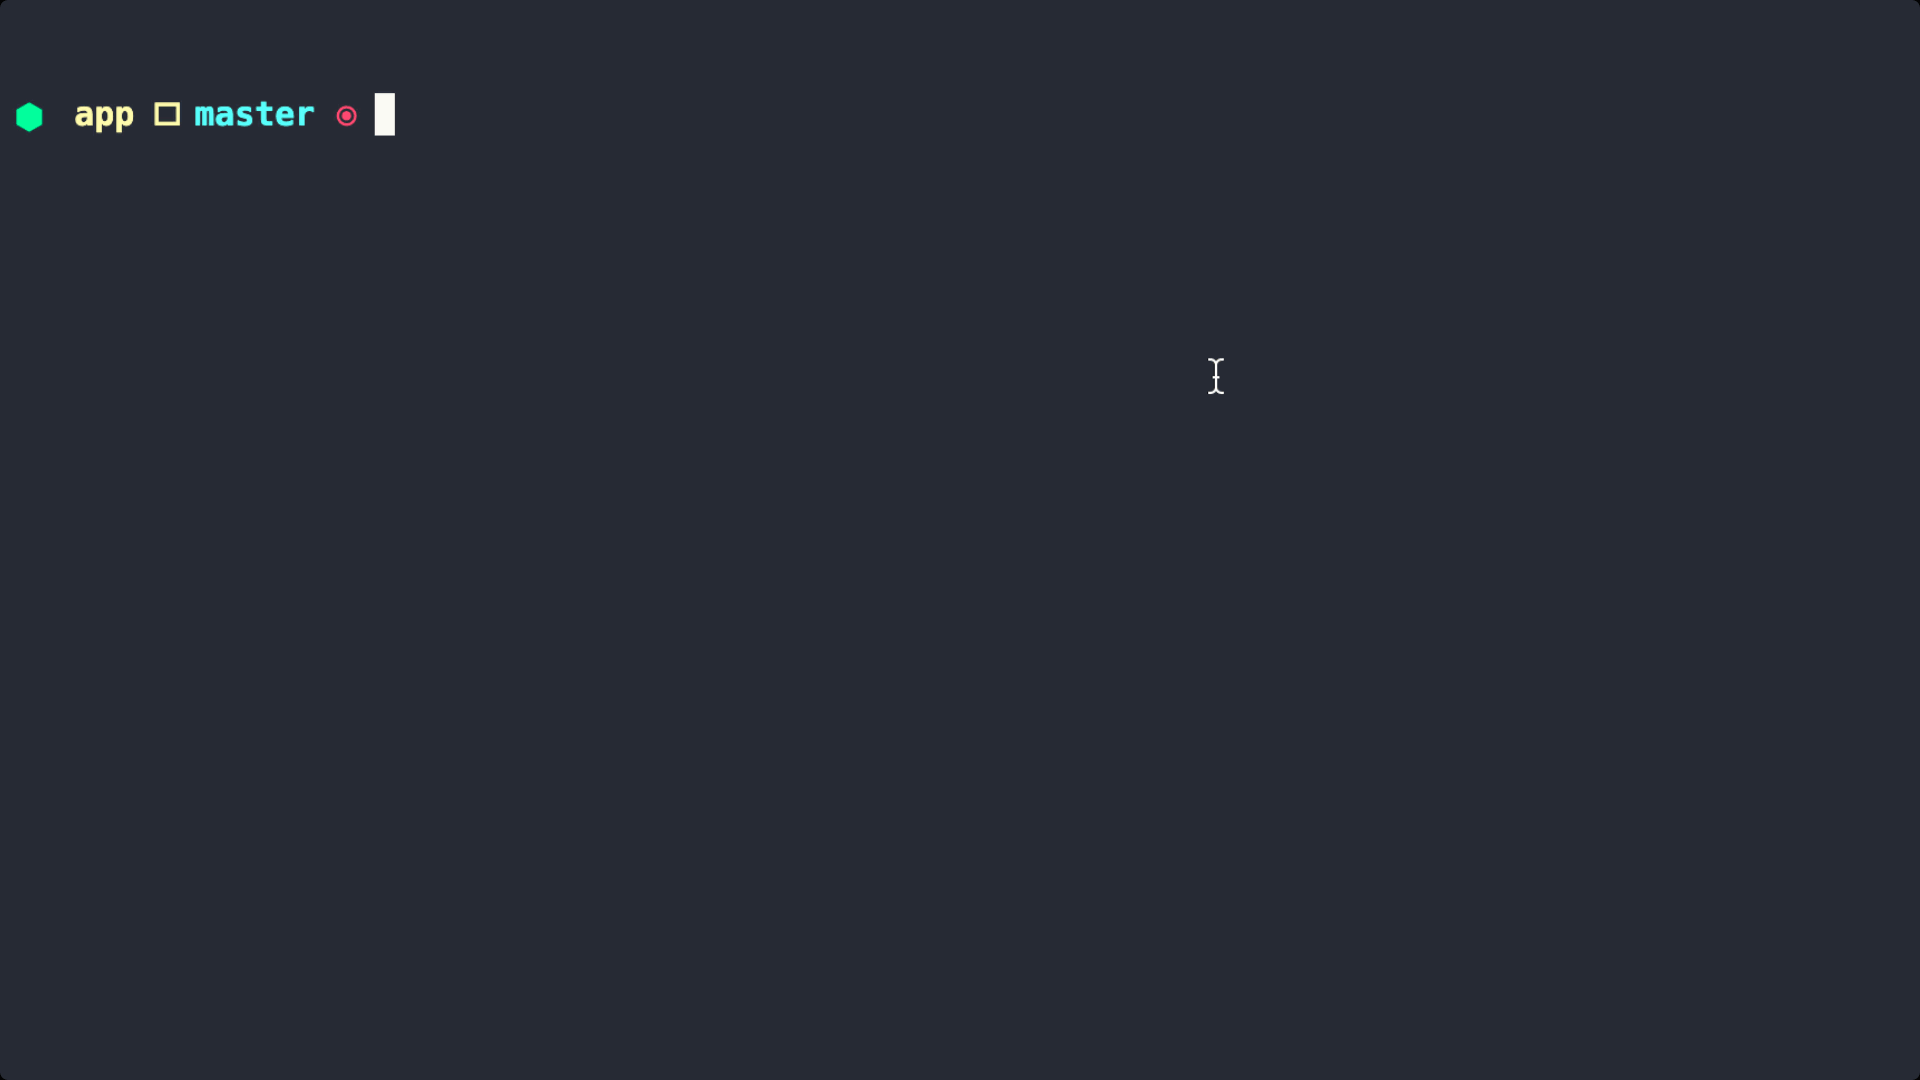
Now, you'll initialize an amplify project by running the command below. To do so, you'll need to check a few options on the CLI wizard. Notice that when prompted you can press Enter on your keyboard to choose default values.
amplify init
Choose the options according to the bold text below:
- Enter a name for the project app
- Enter a name for the environment dev
- Choose your default editor: Visual Studio Code
- Choose the type of app that you're building javascript
Please tell us about your project
- What javascript framework are you using none
- Source Directory Path: src
- Distribution Directory Path: dist
- Build Command: npm run-script build
- Start Command: npm run-script start
Initialising the shared project
Through the next steps, you'll create a function. This function will be used to store dependencies which will be injected later into functions around the AWS Lambda Functions ecosystem.
Running the command below will guide you towards steps to create your Lambda Layer:
amplify function add
Choose the options according to the bold text options below. Notice that for the compatible runtimes, you'll need to hit the space key on your keyboard to select the runtime.
- Select which capability you want to add: Lambda layer (shared code & resource used across functions)
- Provide a name for your Lambda layer: apmAgentLayer
- Select up to 2 compatible runtimes: NodeJS
- The current AWS account will always have access to this layer.
- Optionally, configure who else can access this layer. (Hit to skip) Public
✅ Lambda layer folders and files created: amplify/backend/function/apmAgentLayer
Installing custom modules
Going to the Layer's path amplify/backend/function/apmAgentLayer you may have seen a few folders created by Amplify. As we're working on a Node.js project, all node modules must be installed on lib/nodejs.
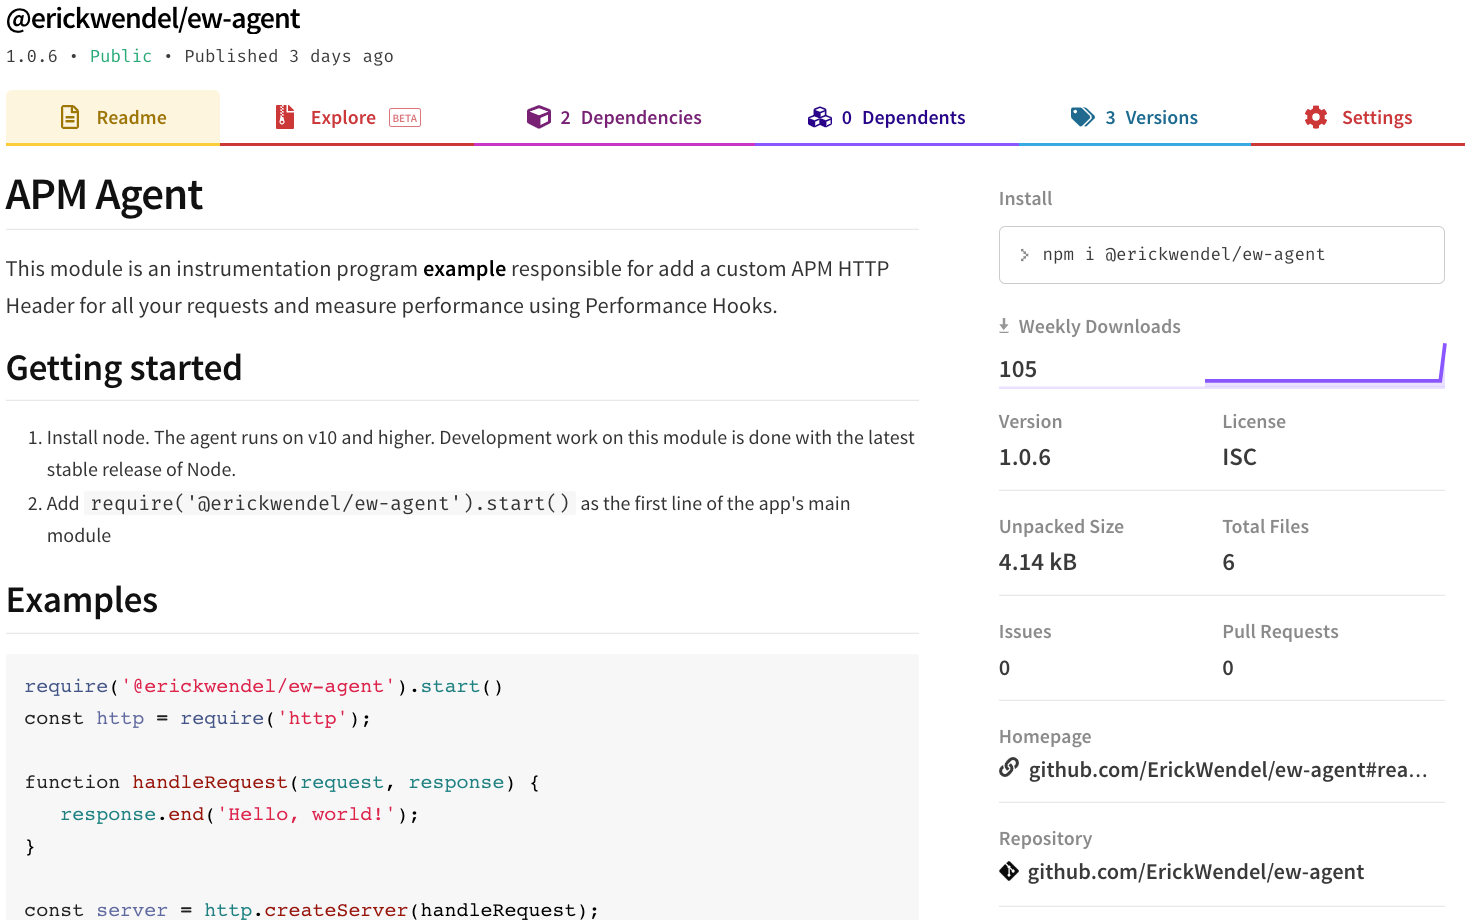
I built an example of an Application Performance Monitor to show how to use the Node.js performance hooks feature to measure duration between requests and change HTTP response readers. It will help show you other possibilities to implement shared code and extend Node.js behaviour.
The first step here is to install the shared dependencies and upload them to the AWS. Go to the path generated by the CLI amplify/backend/function/apmAgentLayer/lib/nodejs and then install the package using the following commands:
cd amplify/backend/function/apmAgentLayer/lib/nodejs
npm i @erickwendel/ew-agent
Deploying
Once you've installed your package you can just deploy it and inspect it later via the AWS Console. Notice that we haven't added any code yet. The goal at this point is just to prepare this library for further use.
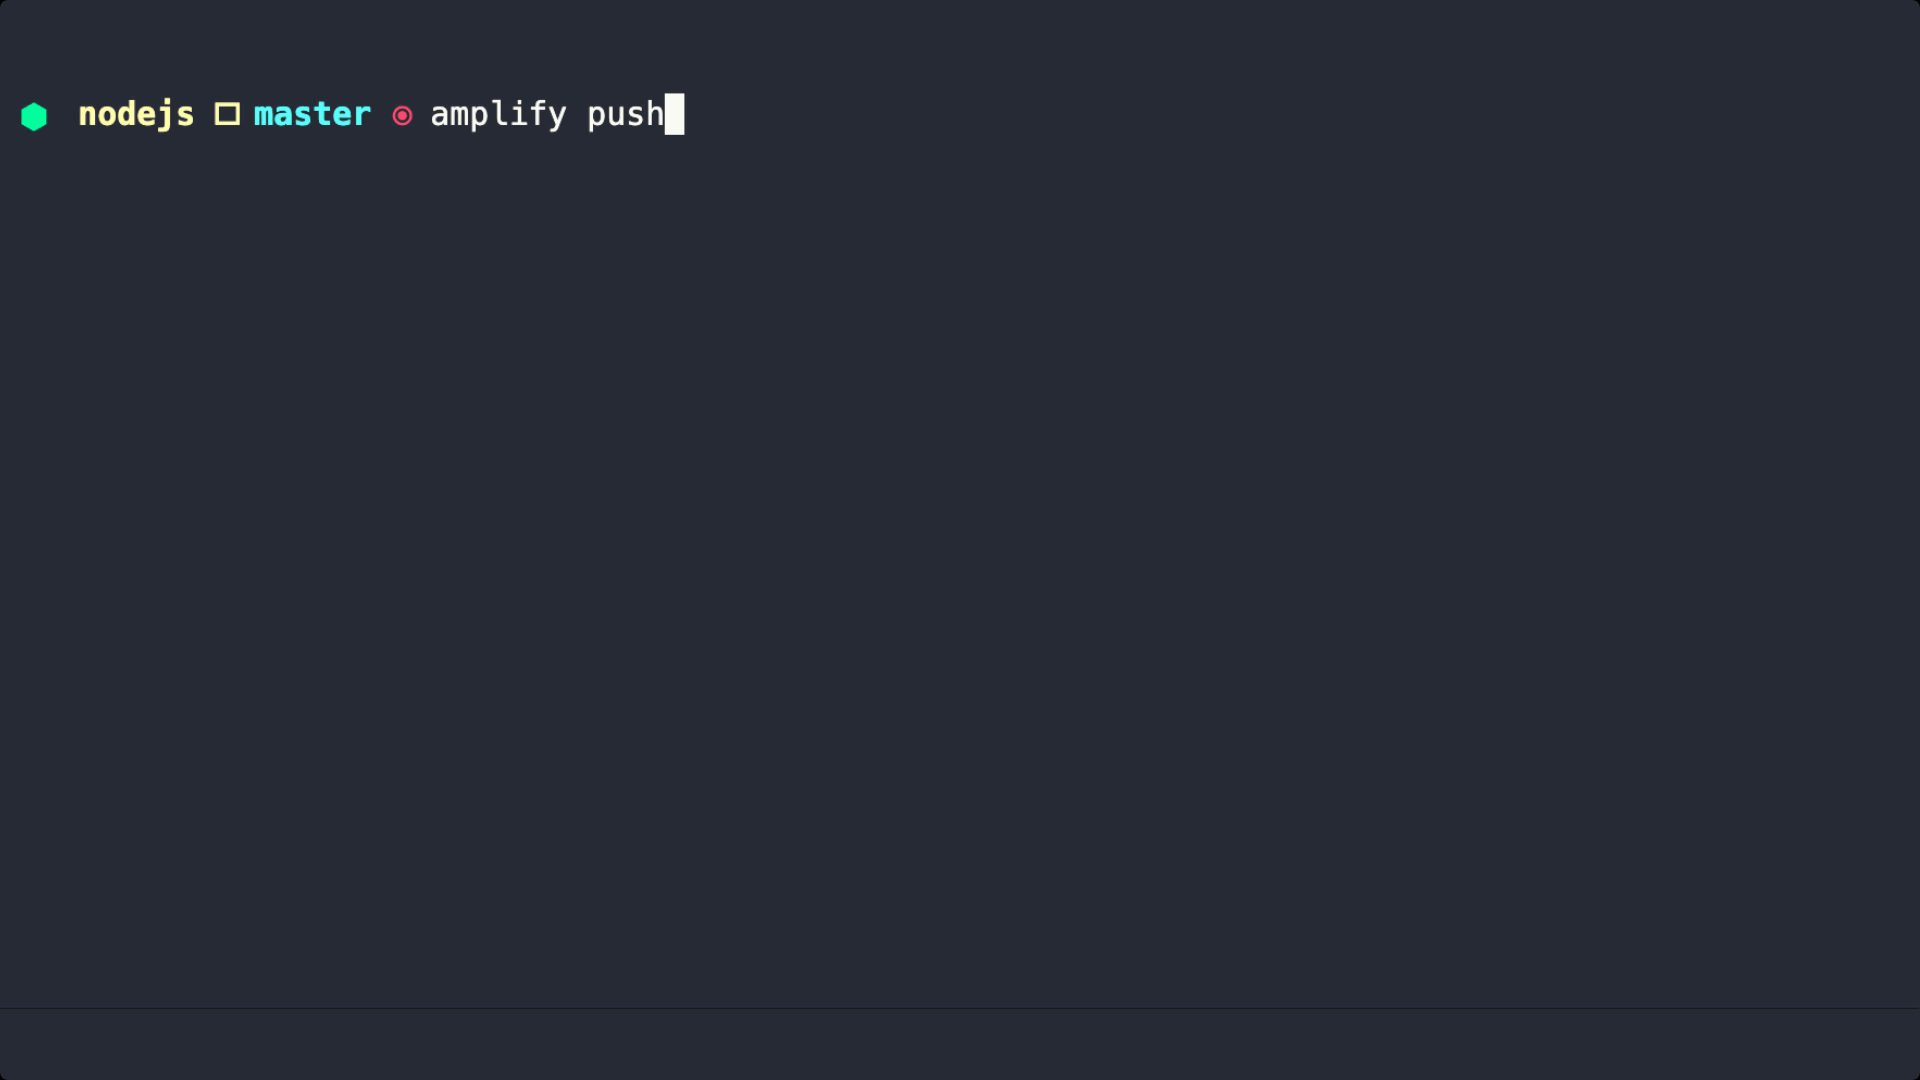
Run the following command to upload your Lambda Layer:
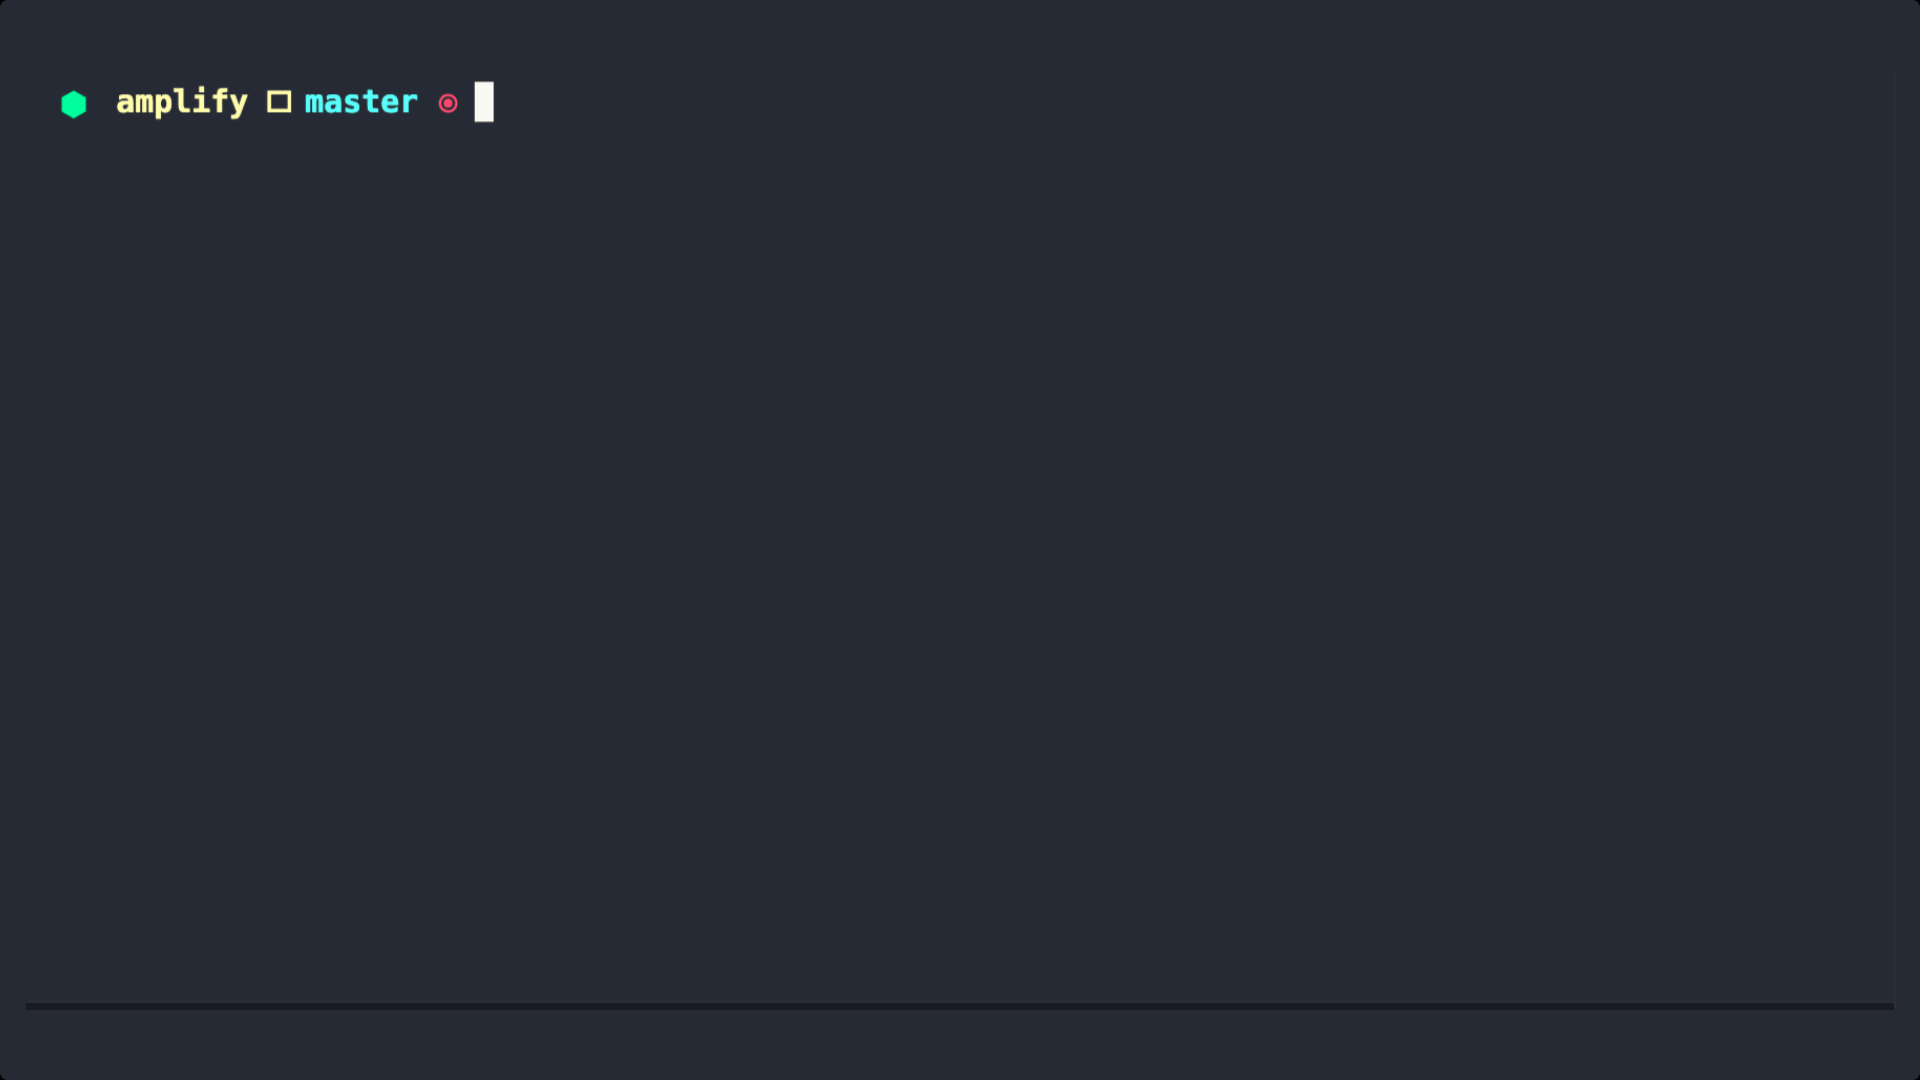
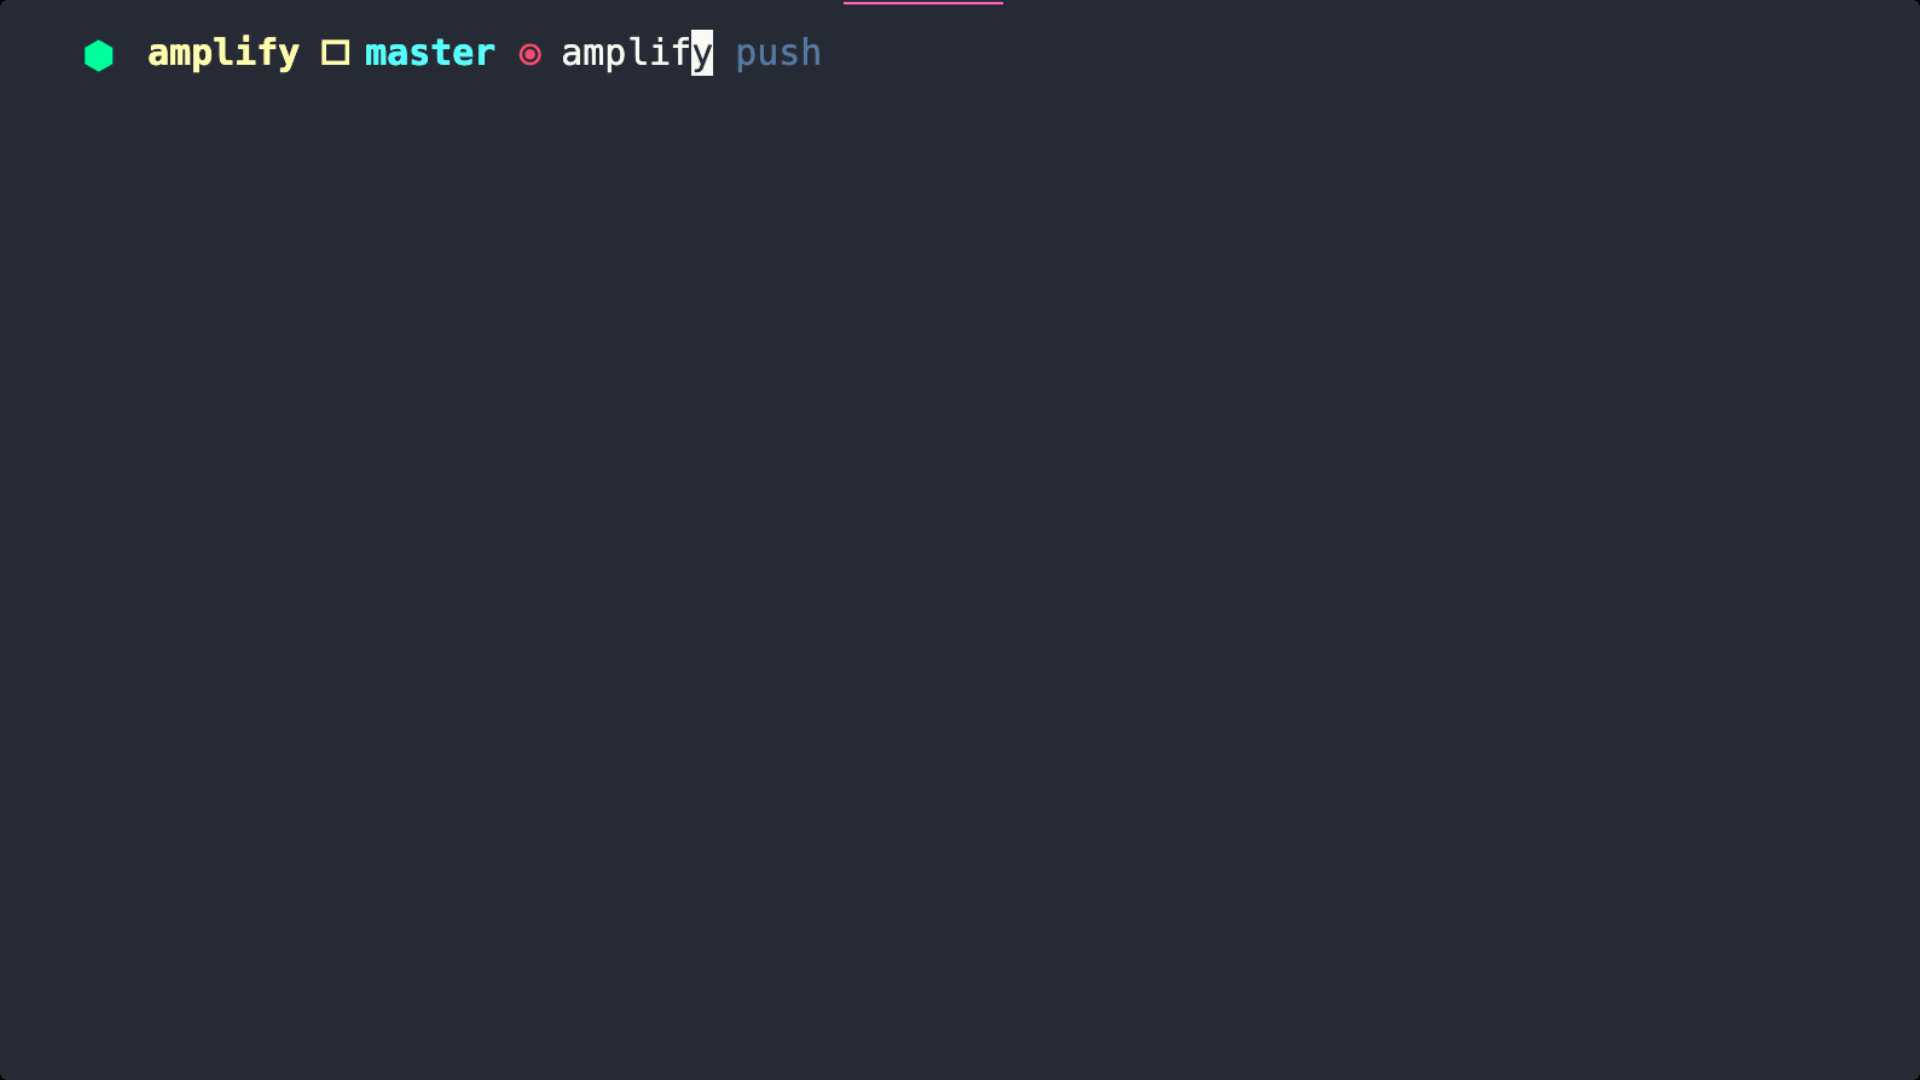
amplify push
Creating the Web API function
At this point, you already have a local Amplify infrastructure project ready to add API Routes, Routines, link with AWS services, and so on.
The command below will be useful for generating an ExpressJS-based project and an AWS Lambda function. It'll also link the function on your nearly created AWS Lambda Layer and expose it on the AWS API Gateway.
amplify api add
Choose the options according to the bold text below:
- Please select from one of the below mentioned services: REST
- Provide a friendly name for your resource to be used as a label for this category in the project: myApi
- Provide a path (e.g., /book/{isbn}): /hi
- Choose a Lambda source Create a new Lambda function
- Provide a friendly name for your resource to be used as a label for this category in the project: myApi
- Provide the AWS Lambda function name: myApi
- Choose the runtime that you want to use: NodeJS
- Choose the function template that you want to use: Serverless ExpressJS function (Integration with API Gateway)
- Do you want to access other resources in this project from your Lambda function? No
- Do you want to invoke this function on a recurring schedule? No
- Do you want to configure Lambda layers for this function? Yes
- Provide existing layers or select layers in this project to access from this function (pick
up to 5): apmAgentLayer - Select a version for apmAgentLayer: 1
- Do you want to edit the local lambda function now? Yes
As I'm using VSCode, the last wizard's answer will open the app.js file on my editor so I can edit. Now without adding other dependencies, let's import the Lambda Layer shared module on the first line of this file using the code below:
require('@erickwendel/ew-agent').start()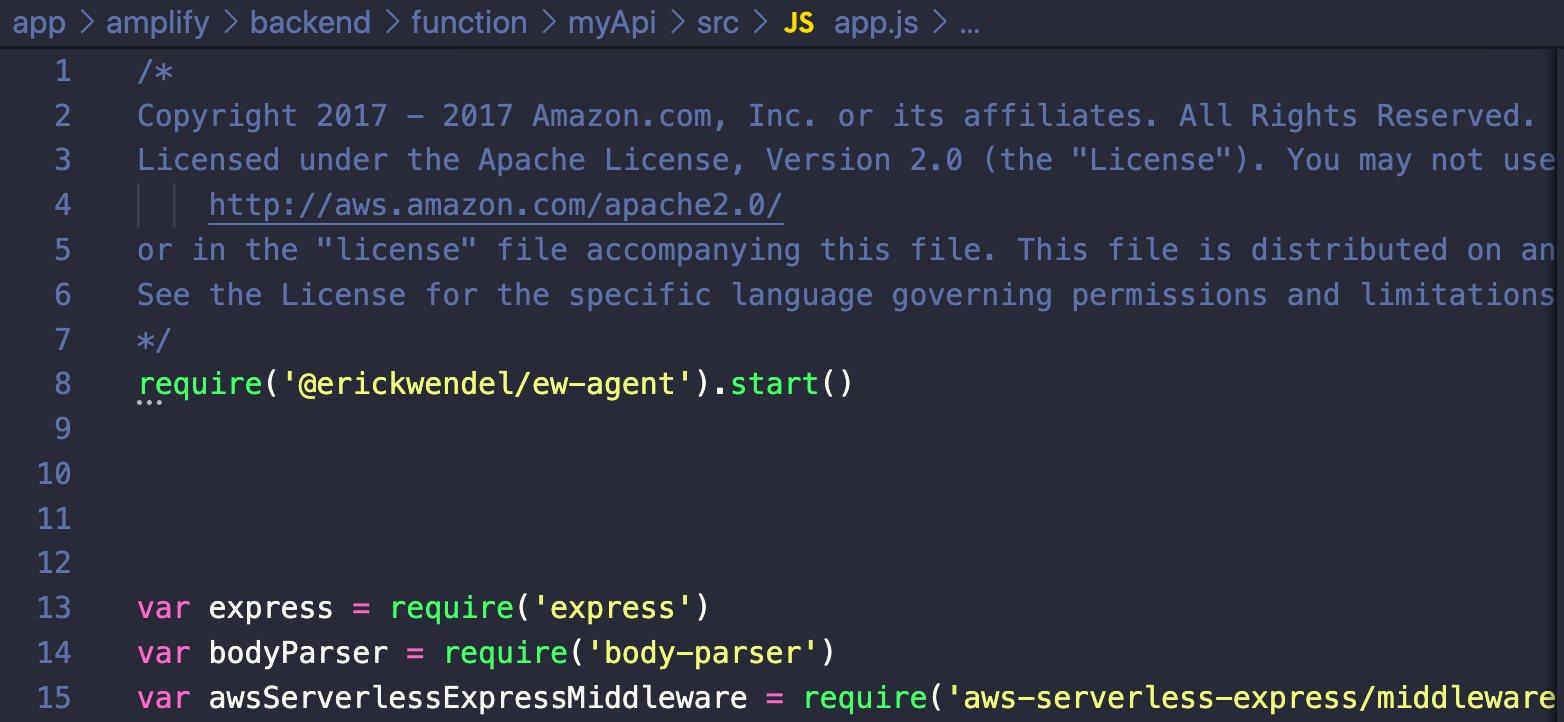
After editing the file, go to the terminal and hit Enter and choose the answers showed in bold below:
- Restrict API access No
- Do you want to add another path? No
At the time of writing, we can't test Lambda Layers locally using AWS Amplify. But you're going deploy your project to AWS and test it in production by running the amplify push command again.
Notice that it will print out which resources need to be updated and which resources will be created on this deploy. It'd take a while to perform all operations and your output should look like the below:
As your terminal may have shown, your API has now a URL. My generated URL is https://nlq7x7onj0.execute-api.us-east-1.amazonaws.com/dev and the route will be hi, which we created together in the previous steps.
Let's trigger a request using the cURL (or even your browser) to see check what happens:
curl -i https://nlq7x7onj0.execute-api.us-east-1.amazonaws.com/dev/hiAfter running it, the API should respond with a JSON response with the following content {"success":"get call succeed!","url":"/hi"}. The Lambda Layer was injected and it should have changed your response headers adding the x-instrumented-by and x-request-id keys like this:
x-instrumented-by: ErickWendel
x-request-id: 5ddf1343-e42e-4e33-b1e1-936c303c14c8
If you're curious about what Amplify has managed for you during this tutorial, run amplify console and browse on the dashboard. You can see mine below:
Cleaning up
To remove all resources created by Amplify, run amplify delete.
Conclusion
There are a lot of ways to improve your experience on serverless applications. The Amplify Framework can help you build next-generation apps and avoid repetitive tasks.
Check the official docs to see other possibilities to build powerful APIs using cutting-edge technologies such as GraphQL and AWS AppSync. I'm sure it'll help you a lot!
Thank you for reading
I really appreciate the time we spent together. I hope this content will be more than just text. I hope it will have made you a better thinker and also a better programmer. Follow me on Twitter and check out my personal blog where I share all my valuable content.
See ya! ?